Contents
Create the virtual machine
Step 0
Solaris Installation
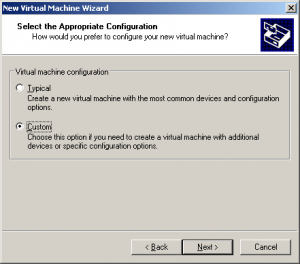
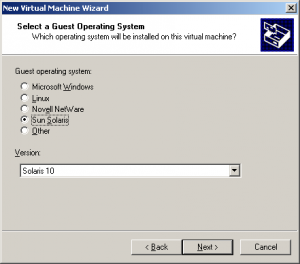
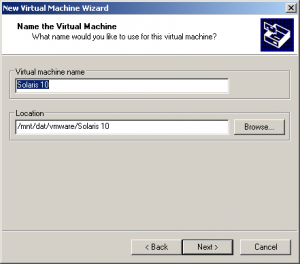
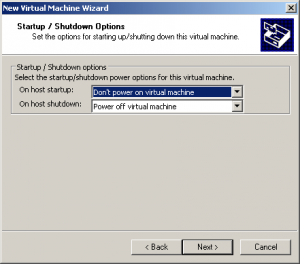
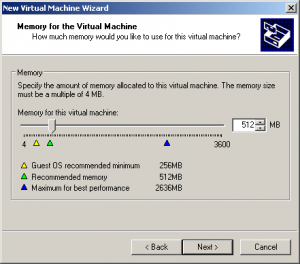
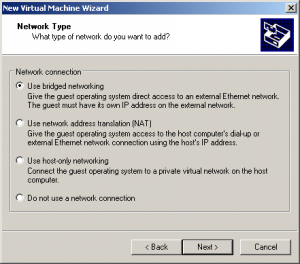
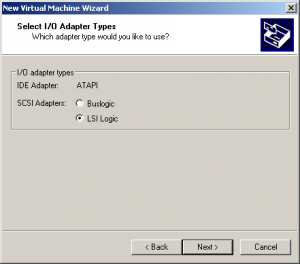
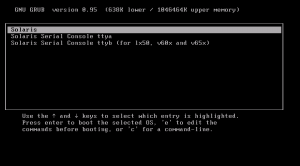
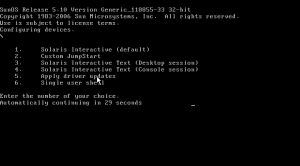
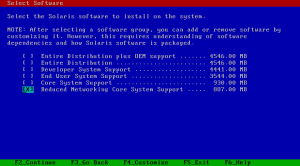
Here you will find some screenshots about important installation steps. You should know by yourself how to partition the disk or setup a basic solaris installation. Basically I’ve selected most of the defaults.
After installation
Add a user
Als erstes muss das Homeverzeichniss von root angepasst werden. Es soll nicht im / sondern unter /root liegen:
mkdir /root
chown root:root root
chmod 700 root
passmgmt -m -h /root root
passwd root
Nun wird der User sysop erfasst:
groupadd -g 200 sysop
useradd -u 200 -g 200 -d /export/sysop -s /bin/sh -c Sys-Operator sysop
mkdir -p /export/sysop
chown sysop:sysop /export/sysop
chmod 700 /export/sysop
passwd sysop
Mount cdrom
Find the cdrom in /dev/dsk
mkdir /mnt/cdrom
mount –F hsfs /dev/dsk/c1t0d0s2 /mnt/cdrom
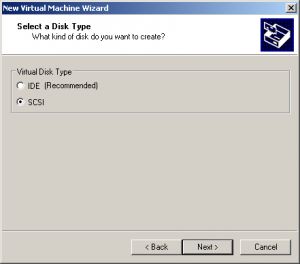
If you deployed your vmware with SCSI-Disks your CD-ROM probably would be:
mount –F hsfs /dev/dsk/c0t0d0s2 /mnt/cdrom
Installing Software
Install ssh
pkgadd -d ./ SUNWgssc SUNWgss
pkgadd -d /root/Product SUNWzlib
pkgadd -d /root/Product SUNWsshcu SUNWsshdr SUNWsshdu SUNWsshr SUNWsshu
svcadm enable ssh
svcadm restart ssh
For some reason the ssh-host-keys weren’t created.
/lib/svc/method/sshd -c
/usr/sbin/svcadm clear network/ssh
Installing bash
pkgadd -d ./ SUNWbash
bash als default shell fur root und sysop einrichten:
passmgmt -m -s /bin/bash root
passmgmt -m -s /bin/bash sysop
Damit im bash die Umlaute richtig angezeigt werden muss die Datei ~/.inputrc mit folgendem inhalt angelegt werden:
Fur root:
echo set meta-flag on > /root/.inputrc
echo set convert-meta off >> /root/.inputrc
echo set output-meta on >> /root/.inputrc
Fur sysop:
echo set meta-flag on > /export/sysop/.inputrc
echo set convert-meta off >> /export/sysop/.inputrc
echo set output-meta on >> /export/sysop/.inputrc
Um den “schönen” Prompt zu erhalten und PATH anzupassen:
Fuer root:
vi /root/.profile
--- /root/.profile ---
PS1="[\u@\h \W]# "
PATH=/usr/sbin:/usr/bin:/usr/dt/bin:/usr/openwin/bin:/bin:/usr/ucb:/opt/sfw/bin:/usr/ccs/bin
export PATH
--- /root/.profile ---
Fuer sysop:
vi /export/sysop/.profile
--- /export/sysop/.profile ---
PS1="[\u@\h \W]\$ "
--- /export/sysop/.profile ---
Installing the Blastwave repository
Install Wget
pkgadd -d ./ SUNWgcmn
pkgadd -d ./ SUNWwgetr SUNWwgetu
Add /usr/sfw/bin to your $PATH
Install pkg-get
cd ~
wget http://www.blastwave.org/pkg_get.pkg
pkgadd -d pkg_get.pkg all
Add /opt/csw/bin to your $PATH
vi /opt/csw/etc/pkg-get.conf
And update the mirror to:
url=http://mirror.switch.ch/ftp/mirror/csw/stable
Install the certificate and the necessary tools to check package signature
cd ~
pkg-get -i gnupg
wget --output-document=pgp.key http://www.blastwave.org/mirrors.html
gpg --import pgp.key
rm pgp.key
Install some Software with:
pkg-get install lsof
[root@moloch ~]# pkginfo | grep CSW
system      CSWcommon                    common - common files and dirs for CSW packages
system      CSWisaexec                   isaexec - sneaky wrapper around Sun isaexec
application CSWlsof                      lsof - list open files
system      CSWpkgget                    pkg_get - CSW version of automated package download tool
[root@moloch ~]#
Installing man
cd cd /mnt/cdrom/Solaris_10/Product/
pkgadd -d ./ SUNWlibC SUNWdoc SUNWman
Modify MANPATH in .profile if you have blastwave-packages installed
vi ~/.profile
--- .profile ---
MANPATH=$MANPATH:/opt/csw/man
export MANPATH
--- .profile ---
Update your environment
source ~/.profile
Hardening
Disabling Services
cd /etc/inet
(Edit inetd.conf and comment out the services which are not needed, such as rpc.cmsd, rpc.ttdbserverd, etc. Afterwards the inetd daemon needs to be restarted)
vi inetd.conf
inetconv -i /etc/inet/inetd.conf
The third type of services to disable can be seen using the SMF (Service Management Facility) program svcs.
/usr/bin/svcs -a
To see which services are actually running (online)
/usr/bin/svcs -a | /usr/bin/grep online | grep network
Among these services, the ones which can be immediately disabled using the svcadm utility are:
svcadm disable svc:/network/rpc/bind:default
svcadm disable svc:/network/inetd:default
svcadm disable svc:/network/rpc-100235_1/rpc_ticotsord:default
